3D printing has become increasingly popular in recent years. While it can be a complicated and expensive endeavor, Monoprice’s Entina 2 Mini 3D Printer aims to make the process easier and more affordable.
In this article, we’ll delve deep into these new 3D printers with an unboxing and comprehensive review of Monoprice’s latest Cadet.
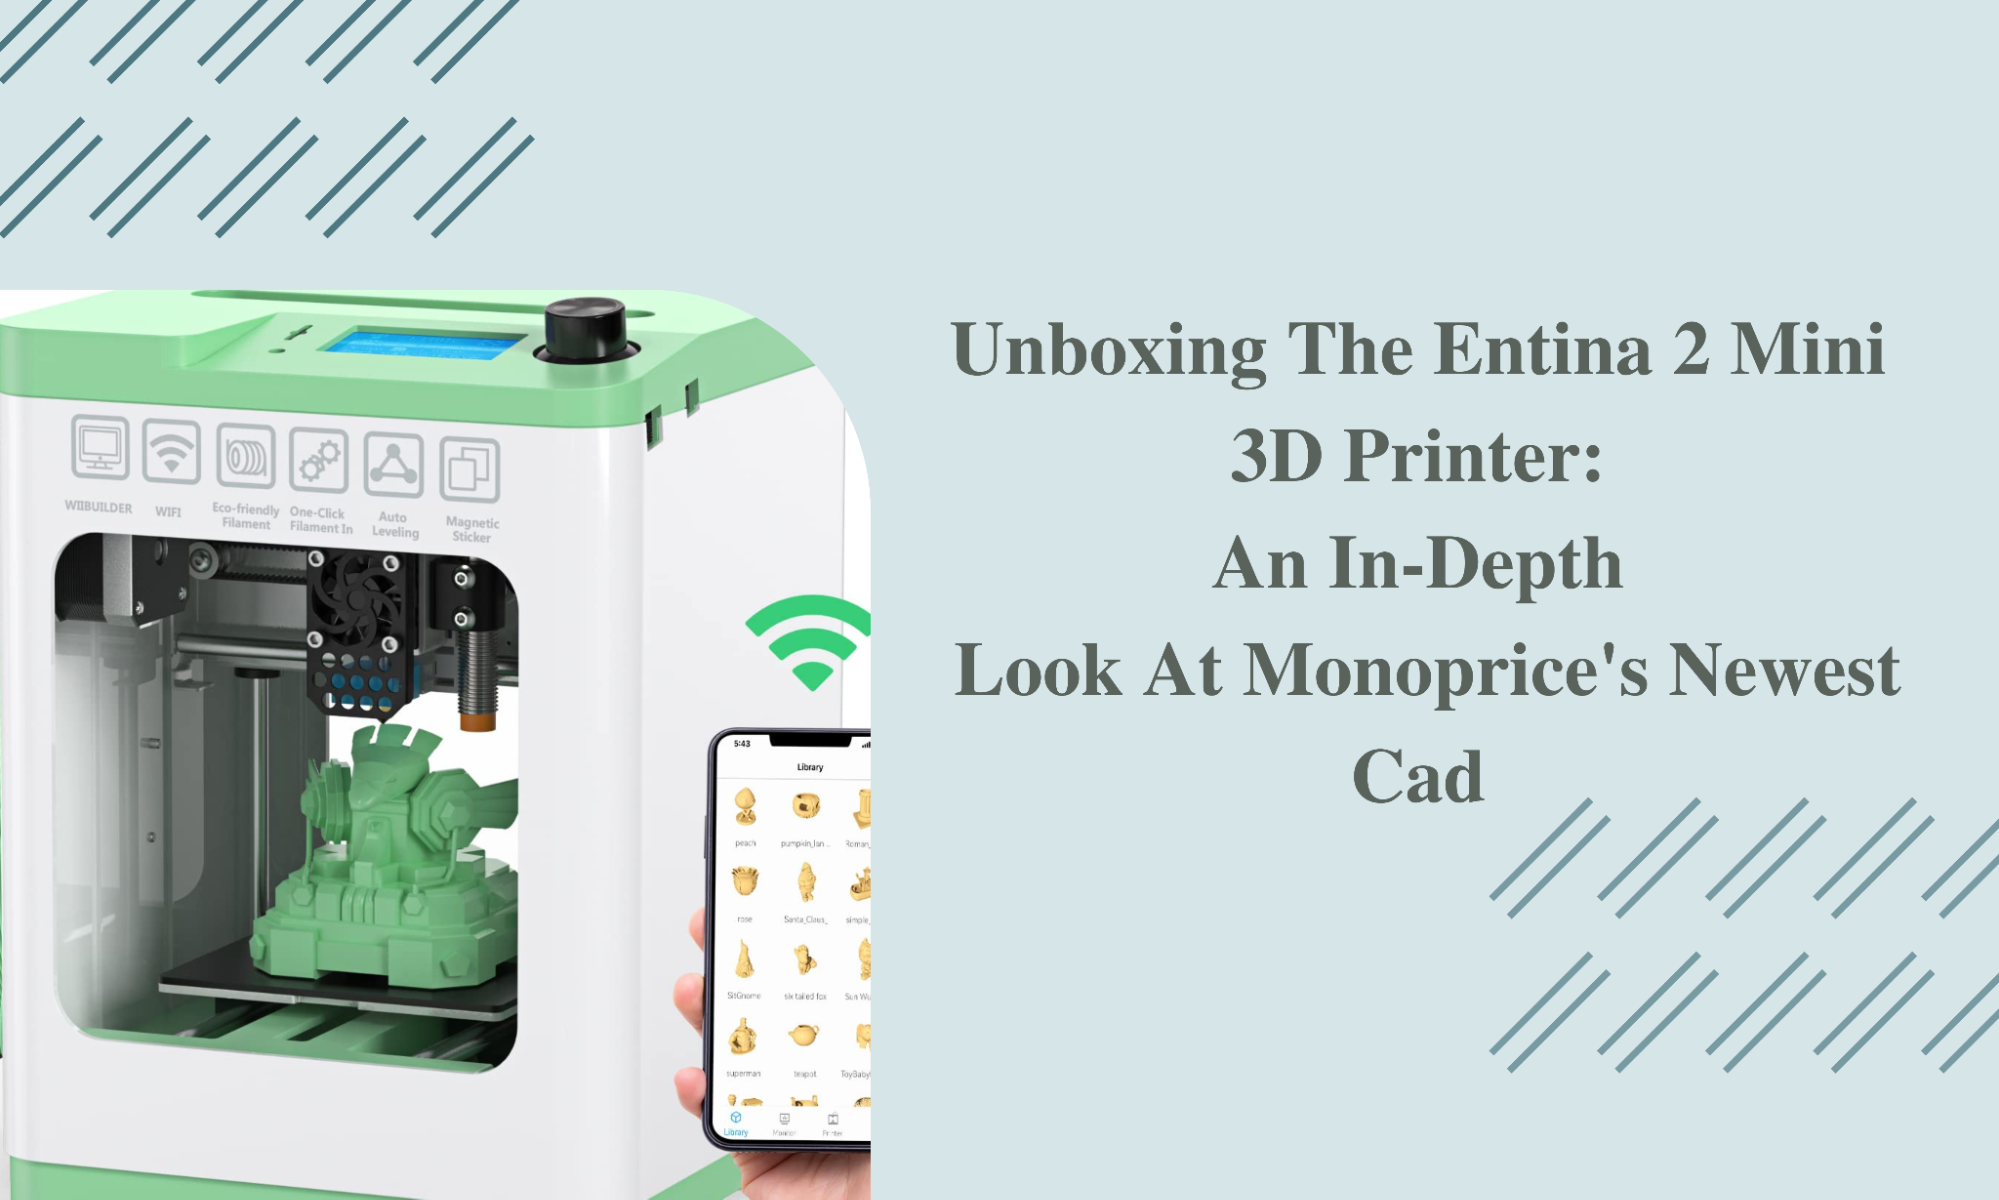
Introduction to the Monoprice Entina 2 Mini 3D Printer
Monoprice’s newest 3D printer, the Entina 2 Mini, is a great choice for affordable and easy-to-use machines. With a price tag of just $399, it’s one of the most affordable 3D printers on the market.
The Entina 2 Mini has a build volume of 100 x 105 x 100mm, making it perfect for small to medium-sized prints. It also has a heated build plate and an automatic bed leveling system, which makes it even easier to use.
The printer comes with everything you need to get started, including filament, software, and a user manual. In this article, we’ll take an in-depth look at the Monoprice Entina 2 Mini 3D Printer and see what it has to offer.
Specifications of the Entina 2
The Monoprice Entina 2 is a 3D printer that offers a build volume of 200 x 200 x 200 mm. It has a layer resolution of 0.1 mm and an XY position precision of 0.012 mm. The printer uses FFF (Fused Filament Fabrication) technology and prints with PLA, ABS, and PETG filament materials.
It has a print speed of up to 80 mm/s and a maximum extrusion temperature of 260°C. The Entina 2 includes a heated build plate, an LCD touchscreen interface, and an SD card reader for printing from files stored on an SD card.
Setup and Installation Instructions
If you’re looking for a new desktop 3D printer and are considering the Monoprice MP Select Mini v2, you may be wondering what’s included in the box and how difficult it is to set up. In this article, we’ll take an in-depth look at everything that comes with the printer, as well as the setup and installation process.
Included in the box:
- 3D Printer
- AC Power Adapter
- USB Cable
- microSD™ Card and Adapter
- Starter Filament Spool
- Quick Start Guide
The first thing you’ll need to do is unpack everything from the box and find a suitable location for your printer. Once you have the printer unpacked and in place, you can begin the setup process.
The first step is to connect the power supply to the back of the printer using the included power cord. Then plug the power cord into an outlet and flip the switch on the back of the unit to turn on your printer.
Next, insert the microSD card into both slots on top of your control box. The next step is to download and install either Cura or Repetier Host software onto your computer.
Once installed, open your preferred software application and connect your computer to the printer via USB cable. Now it’s time to load some filament! To do this, first make sure that your filament spool is properly mounted on the spool holder.
Pros and Cons of the Entina 2
When it comes to choosing a 3D printer, there are many factors to consider. One of the most important is what size printer you need. The Monoprice Entina 2 is a mini D printer that is perfect for those who want to print small to medium sized objects.
It has a build volume of 100 x 105 x 100mm”, which is large enough to print most things you would need, but small enough to save on desk space.
The Entina 2 also has a heated build plate, which means it can print with ABS and other materials that require higher temperatures. This is a great feature to have if you plan on doing any serious 3D printing.
Another great feature of the Entina 2 is that it comes with an auto-leveling bed. This means that you don’t have to worry about manually leveling the bed, which can be time-consuming and frustrating. Just select the auto-leveling option in the menu and let the printer do the work for you.
One downside of the Entina 2 is that it does not come with an enclosed build area. This means that if you are printing with ABS filament, you will need to provide your own enclosure or purchase one separately.
Enclosures help keep the temperature consistent and prevent warping, so this is something to keep in mind if you plan on doing any serious 3D printing with ABS filament.
Unboxing Experience
1. Unboxing the Entina Mini D Printer
The first thing you’ll notice when you unbox the Entina Mini D Printer is its sleek, compact design. Measuring just 14.5″ x 11.8″ x 7.9″, it’s one of the smallest desktop 3D printers on the market. The all-black exterior gives it a modern look, and the included spool holder and filament guide make it easy to set up and use.
The printer comes with everything you need to get started, including a sample PLA filament, a USB cable, and a power supply. The quick-start guide walks you through the basics of setting up the printer and printing your first object.
2. Setting Up the Entina Mini D Printer
Setting up the Entina Mini D Printer is simple and straightforward. First, connect the included power supply to the printer and plug it into an outlet. Then, connect the USB cable from the printer to your computer. Once connected, your computer will automatically install the necessary drivers for the printer.
Next, load the included PLA filament into the top of the printer by threading it through the provided guide tube. Once loaded, press the “Load Filament” button on the touch screen display and wait for the filament to heat up and be drawn into place.
Finally, select your desired print settings on the touch screen display and press “Print.” Your object will begin printing within minutes.
Printing with the Entina 2
Monoprice’s newest 3D printer, the Entina Mini D, is a compact and affordable machine that is perfect for anyone looking to get into 3D printing. The Entina 2 uses an FFF (fused filament fabrication) process to print objects from PLA (polylactic acid) filament.
In this article, we’ll take a look at everything that comes in the box with the Entina 2, and how to get started printing with it.
The Entina 2 comes with everything you need to get started printing, including the printer itself, a spool of PLA filament, a power supply, a USB cable, and a quick start guide.
You’ll also need to provide your own computer and software to control the printer. Monoprice recommends using their free slicing software, Simplify3D.
Once you have everything set up and connected, you’re ready to start printing! The first thing you’ll need to do is load the PLA filament into the printer. To do this, first make sure that the extruder is heated to the correct temperature for PLA (around 200 degrees Celsius).
Then, insert the end of the filament into the extruder’s loading port. Once it’s inserted a few inches, you can let go and let the printer do the rest of the work.
Common Troubleshooting Problems and Solutions
If you’re having trouble with your Entina Mini D Printer, here are some common troubleshooting problems and solutions that may help you get back up and printing again:
1- Problem: The printer isn’t responding to my computer/the software isn’t connecting to the printer.
Solution: Make sure the power cord is securely plugged into both the printer and an outlet, then try restarting your computer. If that doesn’t work, try unplugging the printer from the USB port and plugging it back in. If the problem persists, contact customer support.
2- Problem: The prints aren’t coming out correctly/look bad.
Solution: Check that the filament type and color settings in your software match what filament you’re using in the printer. Also make sure that the build plate is level – if it’s not, prints can come out skewed or with poor adhesion. If none of those things solve the problem, contact customer support.
3- Problem: The filament keeps getting jammed in the extruder.
Solution: Try feeding the filament more slowly through the extruder – if it’s going in too fast, it can get jammed up. You can also try melting a small section of filament (just enough to make it pliable) and feeding it through the extruder to clear any blockages. If those things don’t work, contact customer support.
Final Thoughts on the Entina 2
As I mentioned at the beginning of this article, the Entina 2 is a great printer for those just getting started with 3D printing. It’s simple to set up and use, and it produces good-quality prints. The only downside is that it’s not as fast as some of the other printers in its price range, but it’s still a good value for the money.
If you’re looking for a printer that’s easy to use and produces good-quality prints, then I would recommend the Entina 2. However, if you’re looking for a faster printer, then you might want to look elsewhere.