 |
| How to Install Git on Windows |
98% of Programmers or app developers is known this site. Yeah man, GitHub!
On GitHub, you can develop the project together or clone and modified as you like.
To clone the repository from GitHub, you need to install GIT firs on your windows.
GitHub – an American company that provides hosting for software development version control using Git. It is a subsidiary of Microsoft, which acquired the company in 2018 for $7.5 billion. Wikipedia
To install Git on your Windows, same like install other software.
But if you want to use Git everywhere with CMD, follow these steps!
Suggestion:
Of course, this tutorial works well at Windows 7, 8, 8.1, and Windows 10 with 32 bit or 64 bit.
(Windows 10 64 bit tested)
TUTORIAL HOW TO INSTALL GIT ON WINDOWS OS
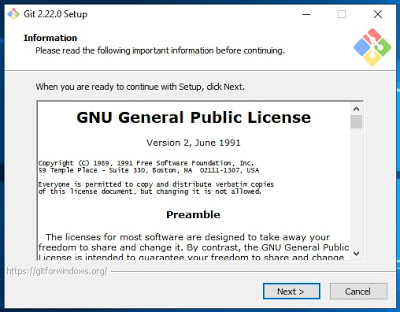
- Open THIS PAGE and download the “Git” for your Windows and it will be downloaded automatically
- You can also choose it manually if the automatic version isn’t suitable for your Windows
- After downloaded, Open with “Run as Administrator“
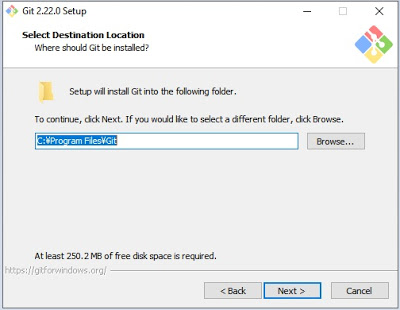
- Click “Next” and choose the installation folder
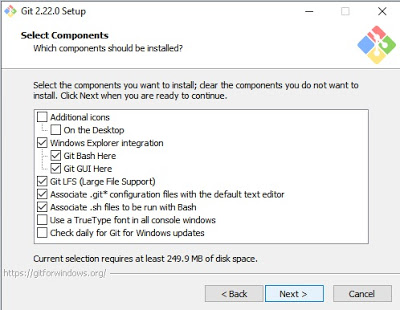
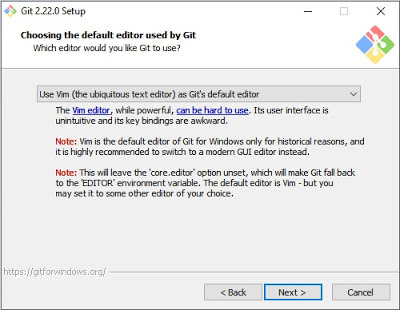
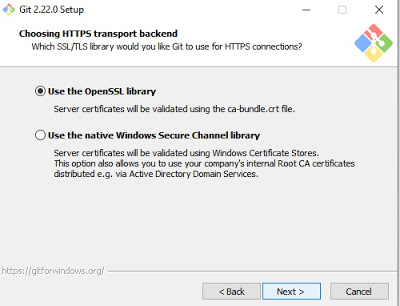
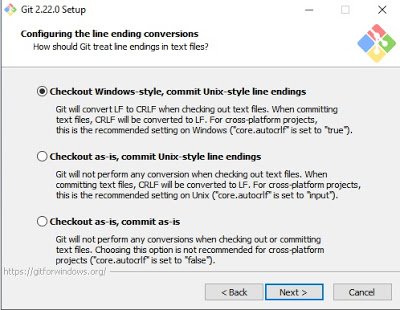
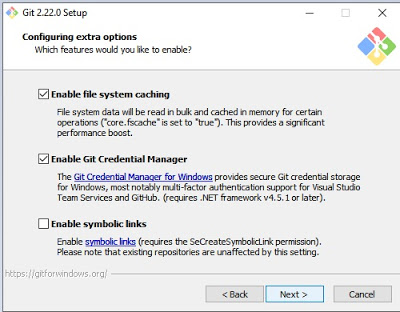
- Hit “Next” again and match with my mine
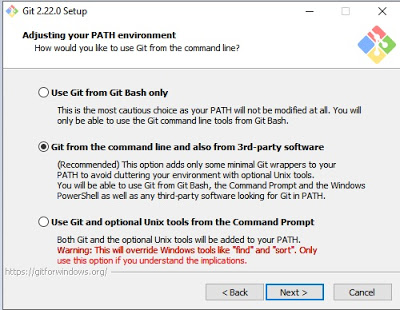
- To be working on CMD, select “Git from the command line and also from 3rd-party software“
- In this section, select the second choice “Use Windows default Console Windows“
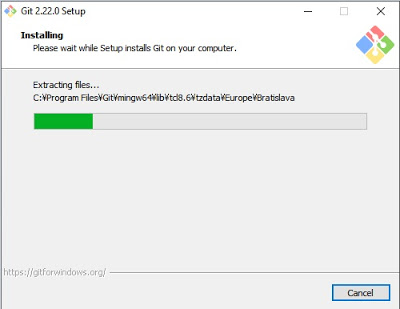
- After it all. Hit “Install” and wait until finished.
- Click “Finish“
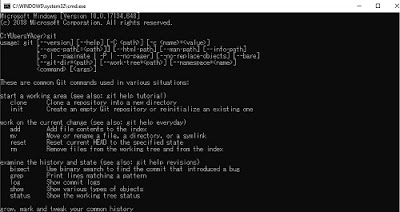
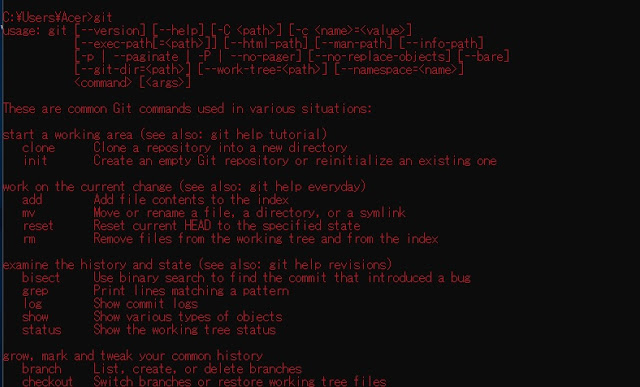
- Installing Git on your Windows is finished, now to see it works or not, Open your CMD or simply press the “Windows” + “R” button and type “cmd“, hit “ENTER“
- On CMD, type “git“, if you see like in mine, Congratulations! You have been successfully installed Git on your computer.
The Git has installed on your Windows.
If you want to take a repository on GitHub, read this Git Tutorial | How to Clone a Repository in GitHub with CMD.
That’s tutorial to install Git on Windows OS.
Suggestion:
If you have trouble or any questions to ask me,
Type in the comment section.
See you next time!
Neko


